react相关
生命周期
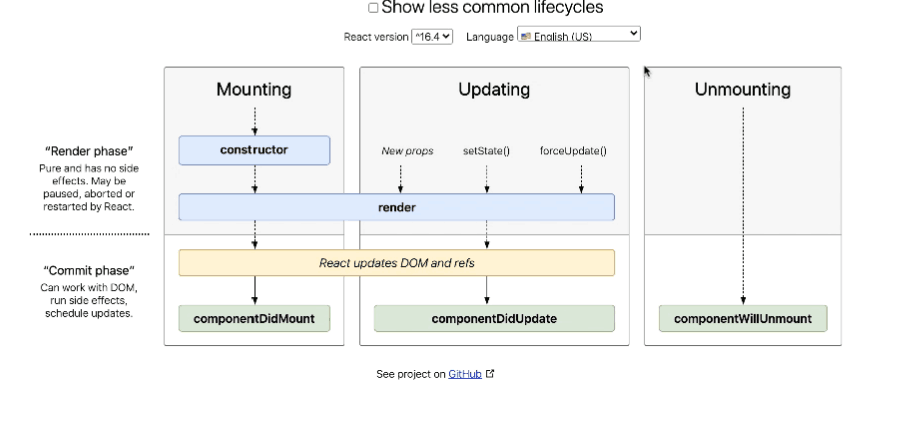
上半部分视图渲染,下半部分事件通知
第一阶段:加载阶段
先是初始化数据constructor
然后进行页面初次渲染render
最后完成加载后发布did mount通知
第二阶段:更新阶段
先是更新数据渲染一次render
然后每更新一次每发布一次did update通知
第三阶段:卸载阶段
在组件卸载之前进行will unmount通知
具体运用:
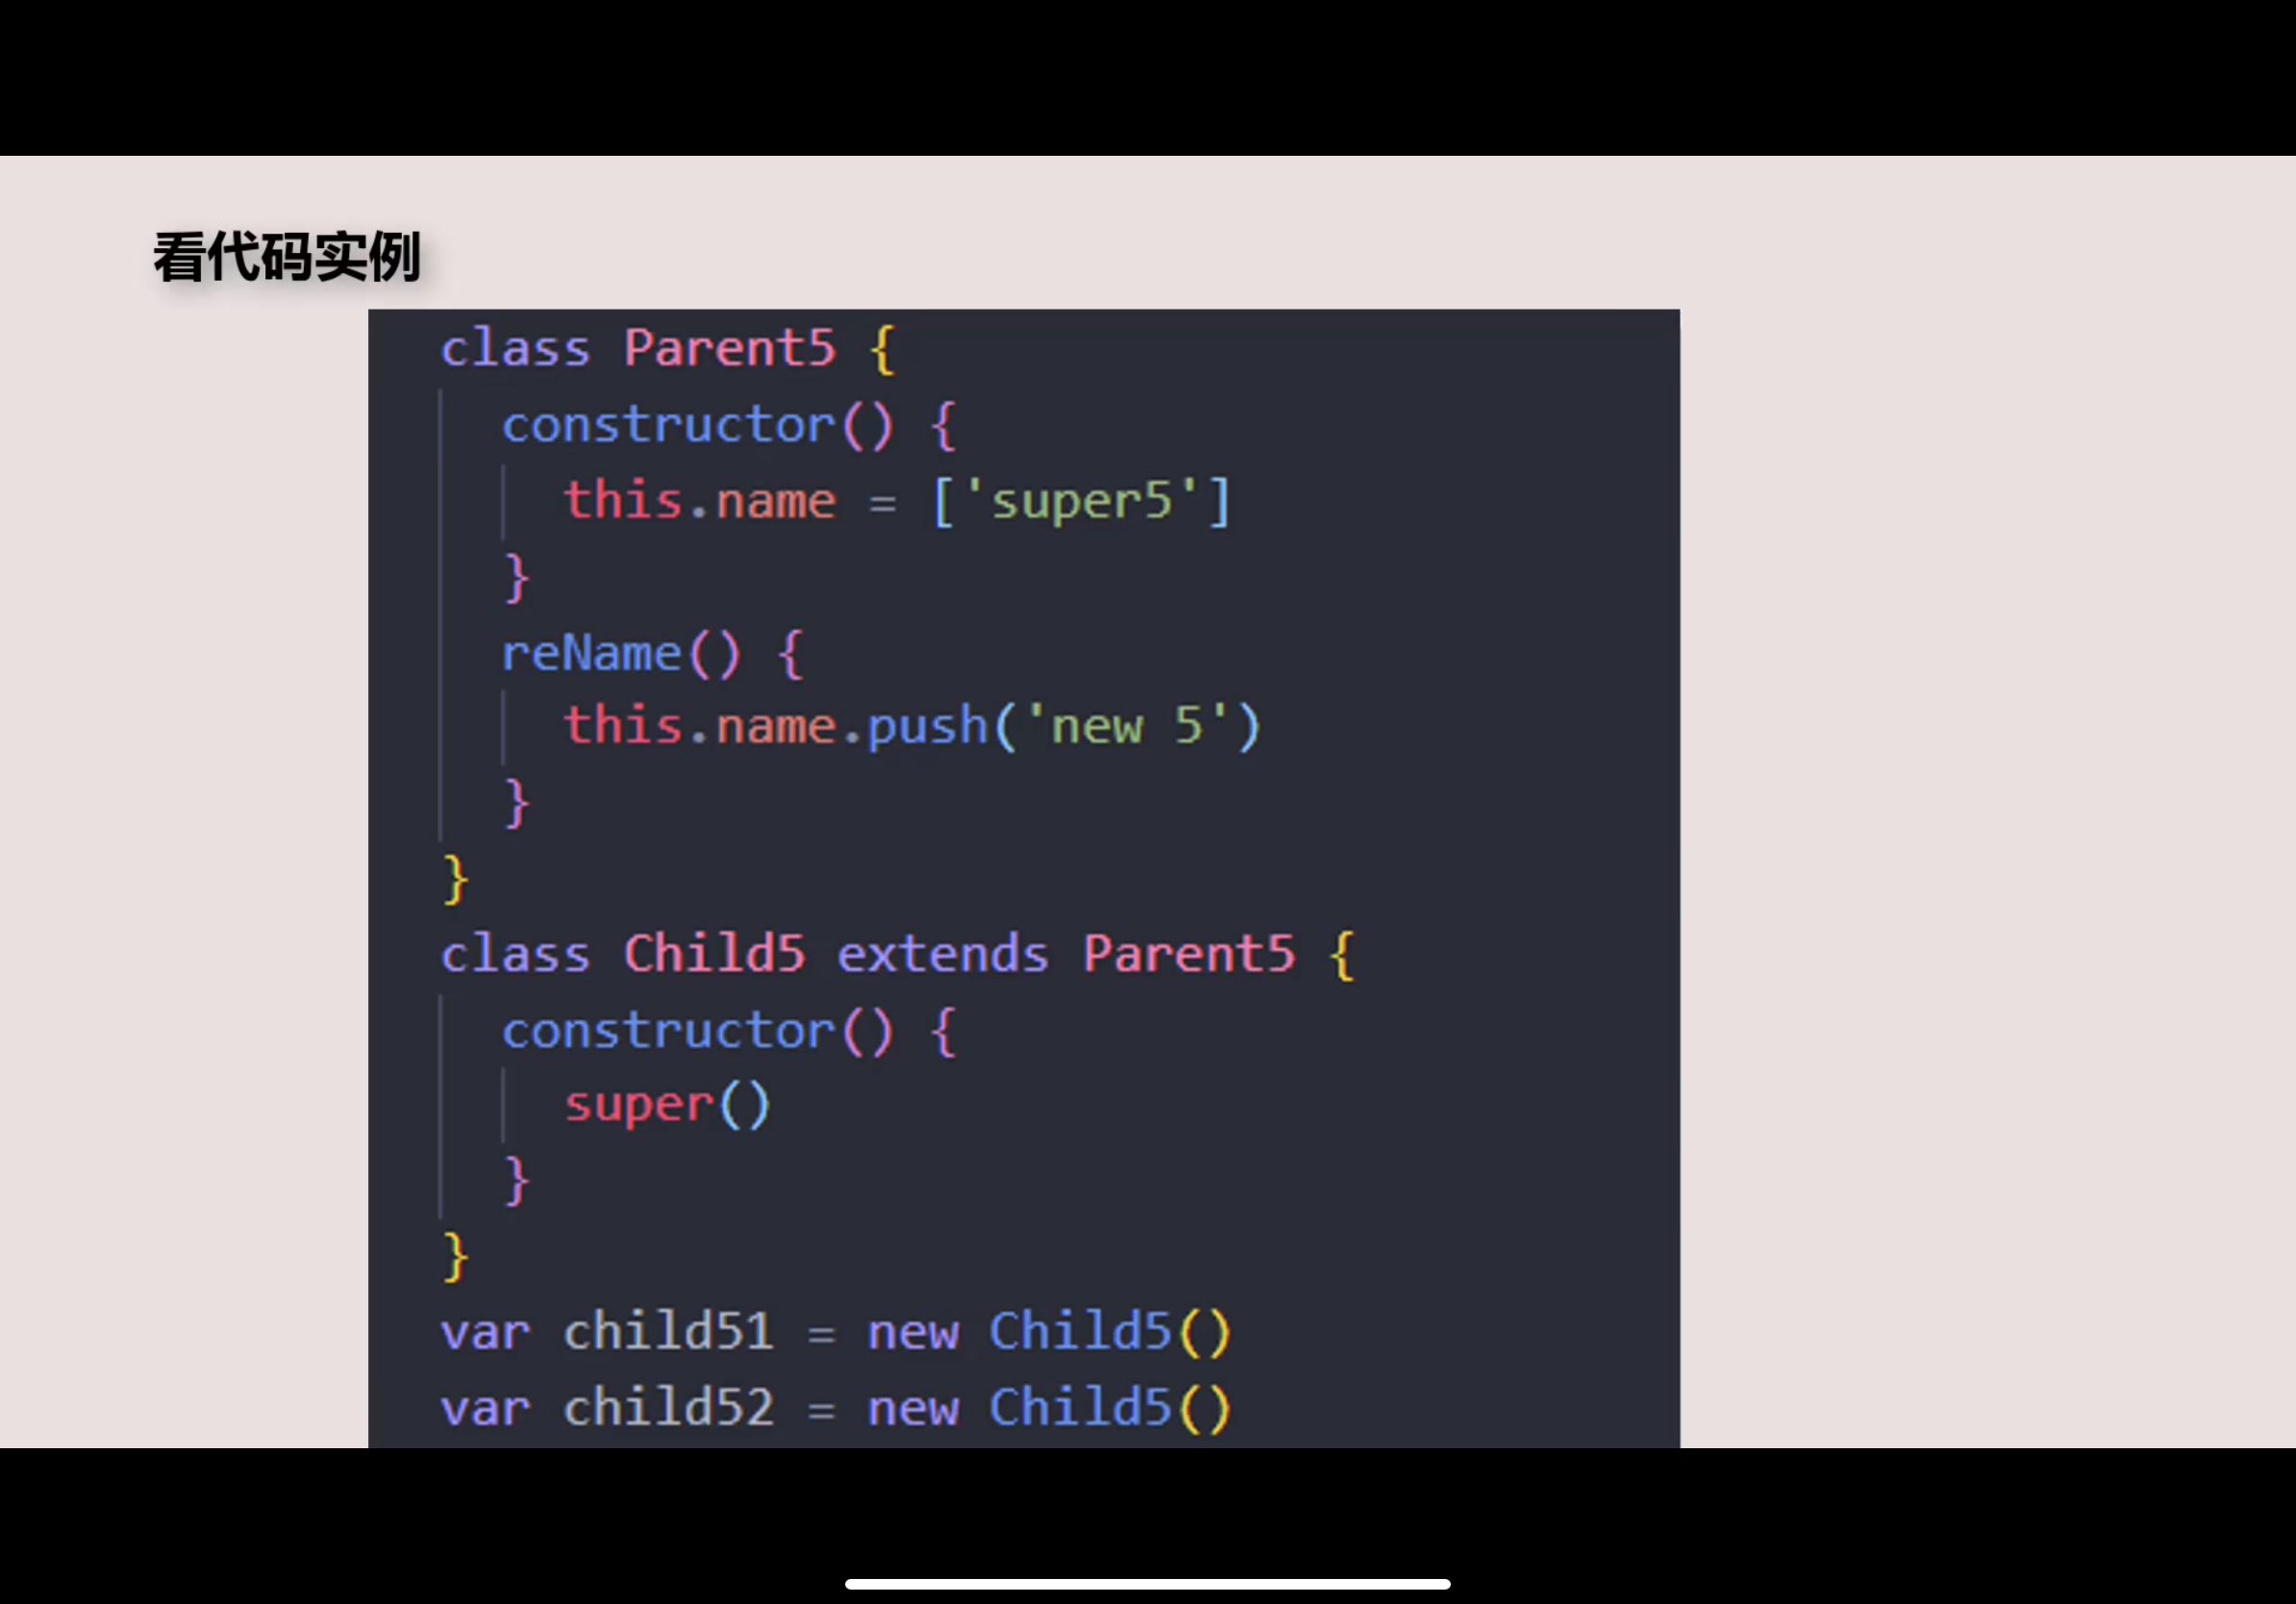
1 | constructor() { |
在写接口时经常需要在页面加载时就获取数据,这是需要把接口写在componentDidMount() {}中
state更新
关于state,官方文档中写道“关于setState()你应该了解的三件事”:
(1)不要直接修改state
(2)state的更新可能是异步的
(3)state的更新会被合并
那么怎么理解这些?
(1) this.state.value = 1 这种写法是错误的
绝对不要直接修改 this.state ,这不仅是一种低效的做法,而且很有可能会被之后的操作替换。
(2)异步是指进程不需要一直等下去,而是继续执行下面的操作,不管其他进程的状态。当有消息返回时系统会通知进程进行处理,这样可以提高执行的效率。
异步就相当于当客户端发送给服务端请求时,在等待服务端响应的时候,客户端可以做其他的事情,这样节约了时间,提高了效率。
注:异步虽然好,但是有些问题是要用同步用来解决,比如有些东西我们需要的是拿到返回的数据在进行操作的。这些是异步所无法解决的。
1 | changeText() { |
由此可见setState是异步的操作,我们并不能在执行完setState之后立马拿到最新的state的结果
Q:为什么要设计成异步?
setState设计为异步,可以显著的提升性能;

如果每次调用 setState都进行一次更新,那么意味着render函数会被频繁调用,界面重新渲染,这样效率是很低的;

最好的办法应该是获取到多个更新,之后进行批量更新;

如果同步更新了state,但是还没有执行render函数,那么state和props不能保持同步;

state和props不能保持一致性,会在开发中产生很多的问题;
Q:如何获取异步的结果,如何获取到更新后的值?
方式一:setState的回调

setState接受两个参数:第二个参数是一个回调函数,这个回调函数会在更新后会执行;

1
2
3
4
5
this.setState({
    message: "新年快乐"
}, () => {
    console.log(this.state.message);
})

方式二:在生命周期函数内获取
1
2
3
componentDidUpdate() {
    console.log(this.state.message);
}
Q:setState一定是异步吗?
其实分成两种情况:
1、在组件生命周期或React合成事件中,setState是异步
2、在setTimeout或者原生dom事件中,setState是同步
验证一:在setTimeout中的更新:
1 | changeText() { |
验证二:原生DOM事件:
1 | componentDidMount() { |
(3)合并
1 | function incrementMultiple() { |
结果this.state.count的值是1
1 | this.setState({Age: '22'}) |
会将数据进行合并,且通过setState对其中一个进行更新,另一个不受影响
React的官方文档有提到过这么一句话:
状态更新会合并(也就是说多次setstate函数调用产生的效果会合并)。
原理:
在react中,setState通过一个队列机制实现state的更新。当执行setState时,会把需要更新的state合并后放入状态队列,而不会立刻更新this.state,当进入组件可更新状态时,这个队列机制就会高效的批量的更新state。
加深对state更新的理解:想想下面这段代码会输出什么?
1 | class Example extends React.Component{ |
参考链接:https://blog.csdn.net/wuyxinu/article/details/113902057
React渲染
1、HTML中渲染
2、参数方式渲染
3、function方式渲染
4、组件方式渲染(详细讲解)
举例说明:获取用户评论并渲染到页面
构造一个组件(写在Components文件夹中),用export default暴露出来
1 | export default class Index extends Component { |
通过Comment组件将获取到的评论渲染出来
1 | <View className='h'>精彩评论</View> |
参考链接:https://blog.csdn.net/qq_39905409/article/details/104001438